Tubes is a free service for sharing files among computers. The application is a desktop program that allows the user to create a “tube” that he can place files in. Other users – friends, family, co-worker, other PCs – can subscribe to the tube and can get updated files added to the tube. You can choose to autosync a tube which will automatically get new files when they’re added to a tube. Think of it as instantly sending files to an aggregate group of people using your tube. This is a walk-through on how to get started using Tubes to share files.
1. Register and download
First, go to www.tubesnow.com. Click the download button. It will take you to a register page. Register for a free account (which gives you 2 Gb of space) or pay $4.99/month for Premium (5 Gb, more features) and download Tubes.
2. Add a tube
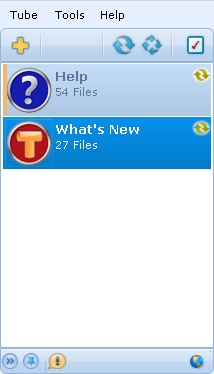
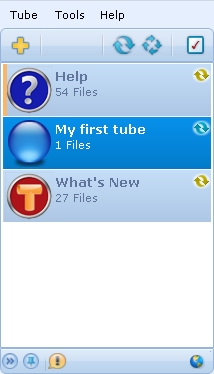
The first time you use Tubes, it will connect you to two tubes on its own, Help and What’s New.
Click the + sign to create a new tube. Name the tube and choose additional options from the details menu.
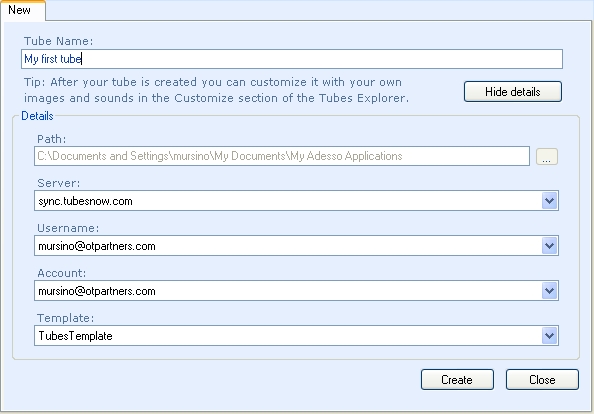
(click image to enlarge)
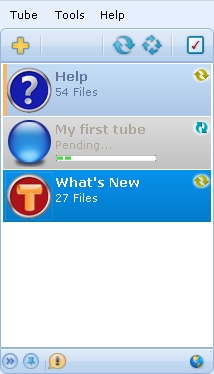
Your tube will get processed and created.

Double-click on your tube and a tube explorer window will open up.
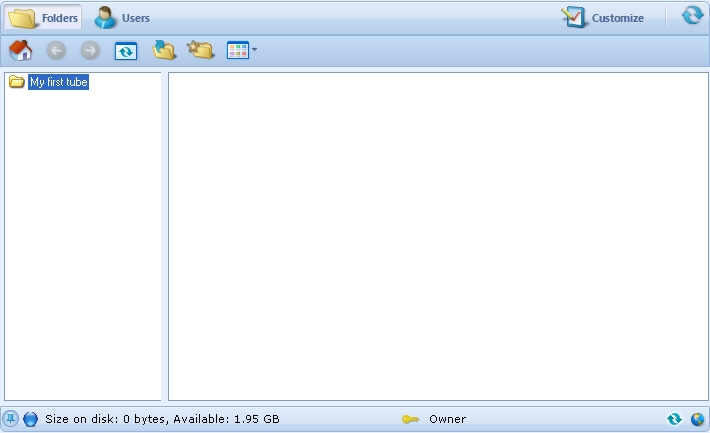
(click image to enlarge)
You can start dragging some files into this tube. As you can see in the image below, I am using the free account which offer 2 gigabytes of storage.

(click image to enlarge)
In the Tubes Navigator, your tube will show how many files you have in your tube.
3. Invite people to your tube
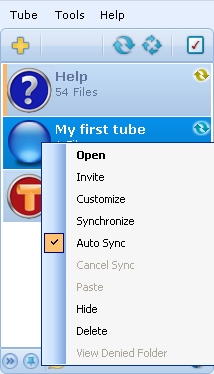
If you right-click your tube, you can send out invites to other people to use your tube so you can share files
Stay tuned for updates as I’ll be posting some more screenshots of other tubes receiving files.